Description 1 Review Manufacturer Seimitsu is well known for the PS series pushbutton, whose microswitch differentiates itself by requiring just a bit more force to actuate. The MM9-3 spring adds an extra .08 LBF (pounds force) to Seimitsu's 24 and 30mm pushbutton series. This is desirable to some who appreciate using more deliberate input force and a bit less sensitivity than Sanwa's SW-68 offers. Adds .25N for Total of 1.25N (0.28 LBF) By default, Seimitsu microswitch requires 1.0N or 0.2 LBF (pounds force) to each button. The MM9-3 adds .25N, for a total of 0.28 LBF. The result is a light, but firm button input requirement that accelerates its the button cap's return to neutral. Compatible With Seimitsu 24mm and 30mm Pushbuttons The MM9-3 is designed to install into the following Seimitsu PS series pushbuttons that use the Seimitsu PS-14-D Button Micro Switch. PS-14-D Snapbutton PS-14-DN Screwbutton PS-14-DN-C Screwbutton PS-14-DN-K Screwbutton PS-14-K Pushbutton PS-15 Pushbutton Install Notes While this does not represent the only way to install the spring into the pushbutton housing, you can use these notes to assist you during the install. To remove the cap from housing, use a mini flat head screwdriver or similar small, flat surface tool to wedge inside between the open spaces on each side of the button. There, you will press upward against the cap's internal tab, dislodging it from the housing. You may need to alternate the upwards push of each tab to prevent the opposite tab from falling back into the open space. With the cap removed, place it upside down. Now, place the spring atop the white plunger. Note that this is an example photo, and your chosen spring may look different depending on the model. With the spring on the upside-down plunger, you can place it back on the housing, lining up the plunger's slotted bottom opening with the microswitch. The plunger can only sit properly on the microswitch one way, which should ease the process of sitting the plunger and cap onto the button properly. The finished result looks like the picture above. Note that this is an example photo, and your chosen spring may look different depending on the model. 1 Review Hide Reviews Show Reviews WRITE A REVIEW Write a Review Close × Seimitsu Seimitsu PS Button Spring MM9-3 - 0.25N (PS-14-Dx/K/PS-15) Rating Required Select Rating 1 star (worst) 2 stars 3 stars (average) 4 stars 5 stars (best) Name Required Email Required Review Subject Required Comments Required Great for sanwa too I have the 1.25 springs inside my sanwas with the silent pad. One of the best decisions I've ever done. 10 stars Brandon Allison on Aug 26th 2019
Installation Quick Reference
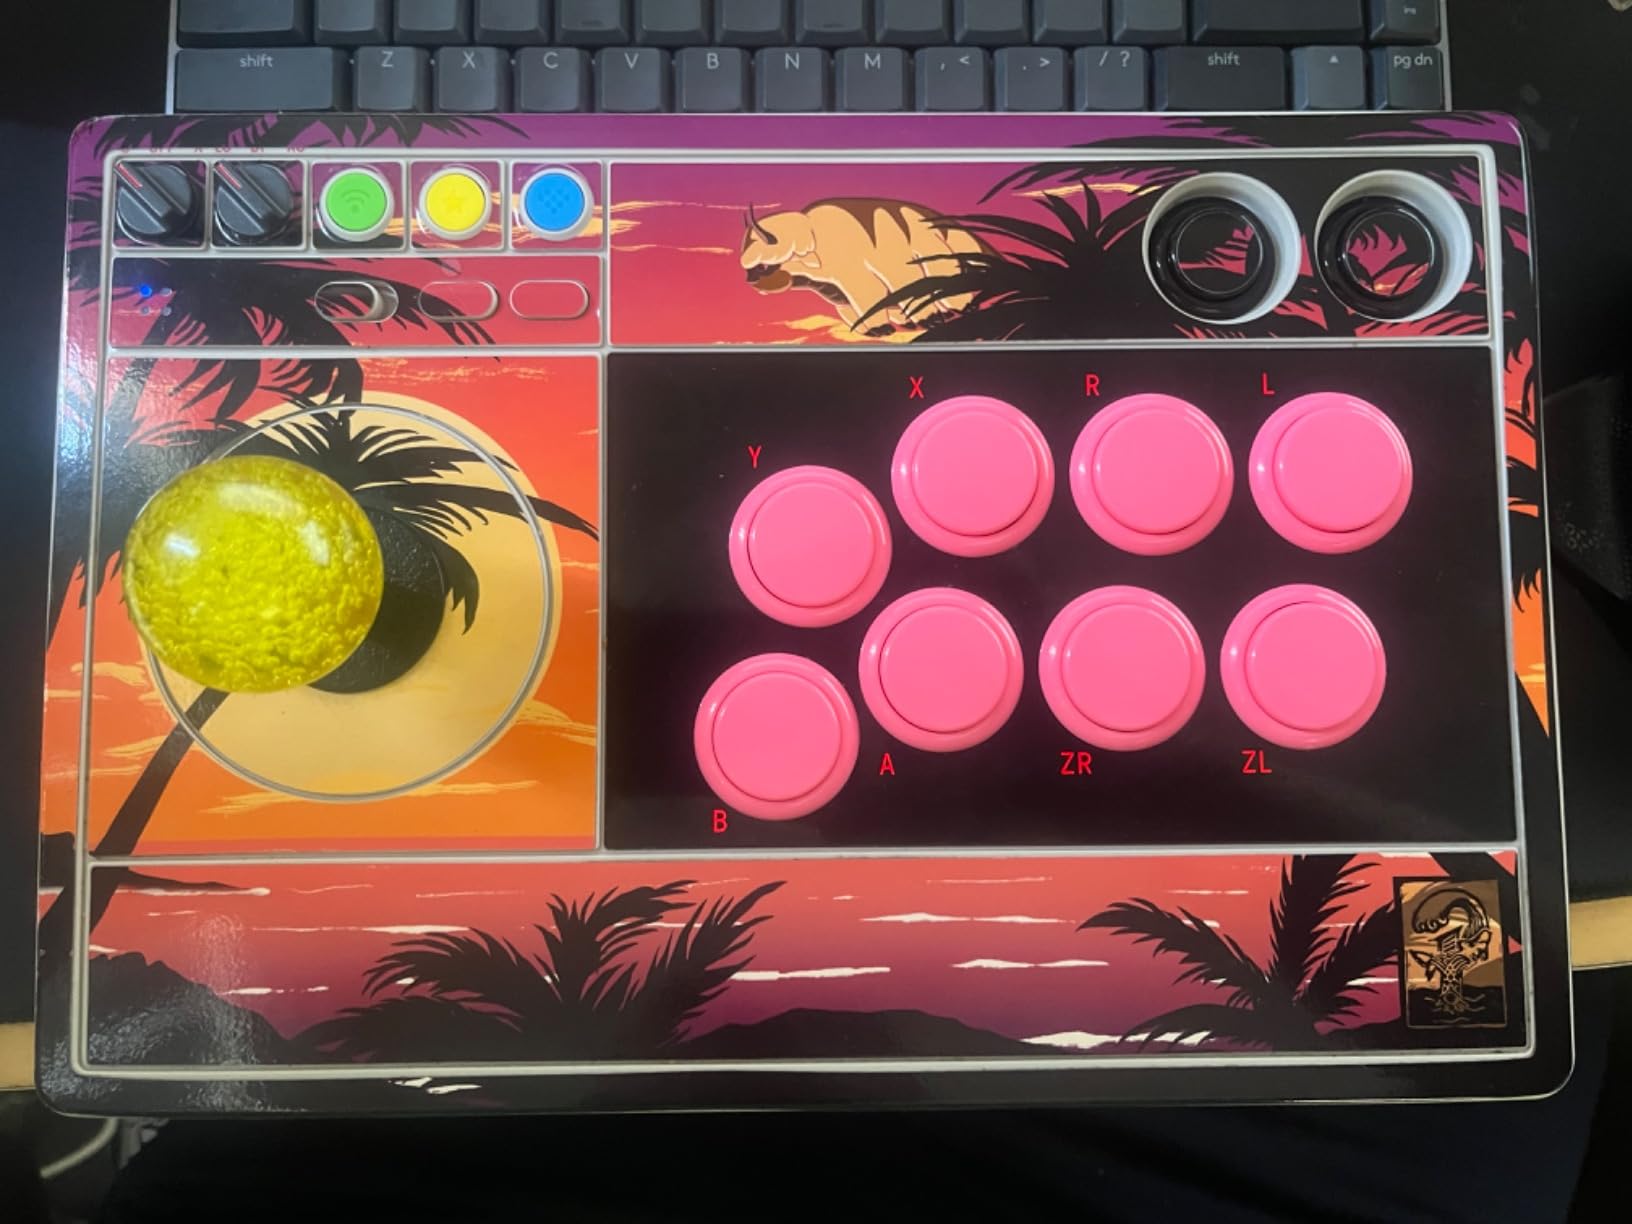
Mounting: Snap-in buttons push into a 30mm hole from the top of the panel. Screw-in buttons thread from below and secure with a nut. Use 2-3mm acrylic, wood, or metal panel.
Wiring: Connect the microswitch terminals to your encoder or PCB. Common ground shared across all buttons. Quick-disconnect (0.110") terminals are standard on Japanese buttons.
Dimensions
Troubleshooting
Not responding to input
Check wiring continuity with a multimeter. Verify the contact block is properly seated. Inspect terminals for loose connections.