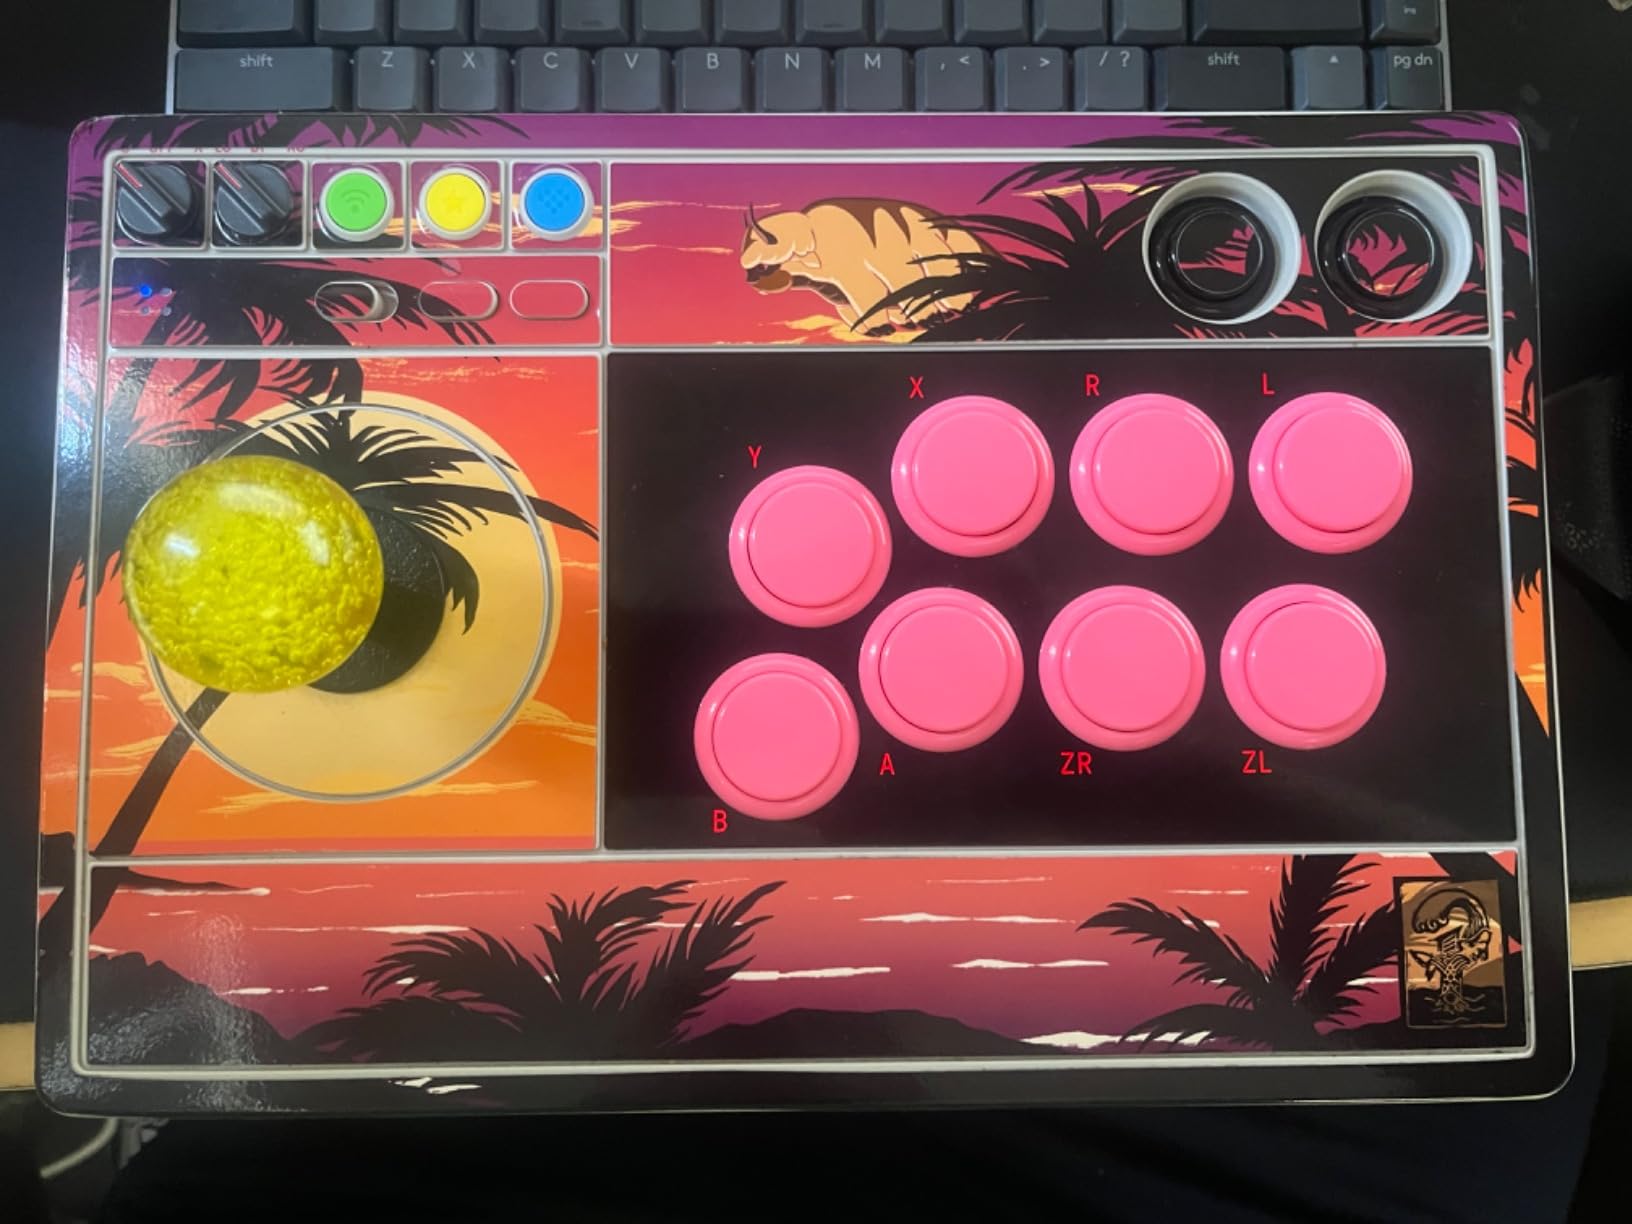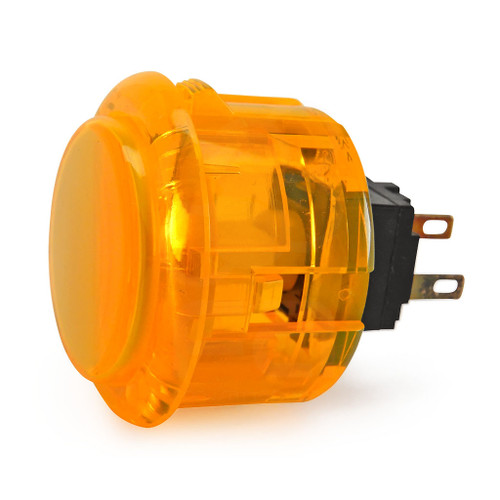
Description 3 Reviews 24 vs 30mm The Seimitsu PS-14-K snap-in pushbutton closely rivals the ease of installation and tournament quality use of the hugely popular Sanwa OBSF-30 pushbutton. These are especially easy to install into Fightstick models with a thin metal faceplate. Available in several translucent colors, artwork can also be inserted under the cap of the plunger. and are sought after for their increased customization ability with joystick graphics and LED mods. Seimitsu buttons offer a similar high-quality and responsiveness as a Sanwa, but a slightly different feel and sound as it uses the Seimitsu PS-14-D Button Micro Switch Bundle with MM9-3 High Tension Button Spring and Save By default, Seimitsu PS-14-D microswitch requires 0.2 LBF (pounds force) to each button. The MM9-3-25N adds an extra .08 LBF (pounds force), for a total of 0.28 LBF. The result is a light, but firm button input requirement that accelerates its the button cap's return to neutral. The MM9-3-50N adds an extra .16 LBF (pounds force), for a total of 0.34 LBF, resulting in a much firmer button input requirement that quickly pushes the button cap's to neutral position, ready for the next press. This is desirable to some who appreciate using more deliberate input force and a bit less sensitivity than Sanwa's SW-68 offers. Now, you can save 25 cents off the regular price of the MM9-3 series spring when you choose one of the high tension springs from the options list. 3 Reviews Hide Reviews Show Reviews WRITE A REVIEW Write a Review Close × Seimitsu Seimitsu PS-14-K 30mm Snap In Pushbutton: Orange Rating Required Select Rating 1 star (worst) 2 stars 3 stars (average) 4 stars 5 stars (best) Name Required Email Required Review Subject Required Comments Required Joe The image on website is not much different from the yellow version of the button, but the button is definitely orange. Although the inside is white to hold artwork. Which makes it look like an orange button with white cap. Joe Strikes on Aug 5th 2019 I love these buttons! After trying out the Sanwa buttons on my panthera for a few weeks, I found that they were too sensitive for me. After doing some research on various brands of buttons, I found that seimitsu requires more pressure, which is just what I was looking for. They felt great the very moment I started using them! I could easily feel the difference between these and the Sanwa buttons. They’re more spongy and require just a little more pressure as opposed to the clicky-ness and light-ness of Sanwa. Overall, I can safely say I found my favorite brand of button! I would definitely recommend these buttons if you want a little more pressure than Sanwa. Jose on Jun 24th 2019 Not completely orange The inside of button is white. Was told it is there to hold artwork. So button looks like it has an orange base with white cap. Unknown on Dec 9th 2018 When processing orders, a frequent mistake we found among new players is choosing the wrong size for action buttons, such as punch and kick. Within the fighting game genre, Japanese arcade buttons commonly consist of two diameter sizes: 24 millimeter and 30 milllimeter (mm). In most configurations, 30mm represents your action button. These are front facing, appearing most prominent on your Fightstick control panel. Option button, such as "Start", "Select", or more recently "Option", "Touch", or "Share" are usually 24mm. UPDATE: Owners of Neo Geo AES Joysticks will need 24mm pushbuttons instead of 30mm (Thanks SRK's DEZALB) Below is a visual representation of a common Fightstick control panel. Throughout this article, we will mark 24mm in green, and 30mm in Orange. Checking the Proper Size Another way that players can misinterpret the pushbutton size is by measuring the pushbutton plunger. Have a look at the diagram at right. The plunger - the part that you press down to represent an input - is 25mm or a bit smaller in most 30mm pushbuttons. Often this leads to the conclusion that one needs a 24mm button and not 30mm. Similarly measuring the button rim can lead to confusion, as it is intentionally larger than the button hole it is placed in. You don't want to use these measurements. Instead, review the button housing diameter, or the hole the button will be placed in. You can do this with a caliper - a digital caliper is often quite helpful for this and other arcade-related projects. Control Panel Configuration Most Fightsticks from MadCatz, Hori, Qanba, and similar will use these two sizes. How the buttons are used will depend on the model joystick that you own. Over time, we'll provide example configurations for specific popular Fightstick models and arcade cabinets using the color key for 24mm (green) and 30mm (orange). We'll also expand the key for future models if another size is introduced, and we offer for sale.
Installation Quick Reference
Mounting: Snap-in buttons push into a 30mm hole from the top of the panel. Screw-in buttons thread from below and secure with a nut. Use 2-3mm acrylic, wood, or metal panel.
Wiring: Connect the microswitch terminals to your encoder or PCB. Common ground shared across all buttons. Quick-disconnect (0.110") terminals are standard on Japanese buttons.
Dimensions
Troubleshooting
Not responding to input
Check wiring continuity with a multimeter. Verify the contact block is properly seated. Inspect terminals for loose connections.